
Easy-to-Follow Design Tips for Using Ultrasonic Transducers in Your Projects
Introduction
Ultrasonic transducers are essential components in a wide range of applications—including medical devices, robotics, cleaning systems, and smart electronics. These compact devices send and receive sound waves to detect objects, measure distances, or transmit signals. If you're working on a device that uses one, knowing how to properly integrate an ultrasonic transducer is key to achieving accurate performance.
This beginner-friendly guide provides easy-to-understand design tips for engineering students and makers who want to get the most out of their ultrasonic transducers. Whether you're designing a sensor-based device or building a prototype for a class project, these integration tips will help ensure your project succeeds.
1. Identify Your Project's Requirements
Product path for this search intent
Match the article topic to the right YJ Piezo product page
Use this article when the risk is supplier selection, engineering support, validation evidence, integration reliability, and whether the manufacturer can scale from sample to production. For "Easy-to-Follow Design Tips for Using Ultrasonic Transducers in Your Projects", the practical value is in turning the topic into a measurable selection or sourcing decision.
- Ultrasonic Transducer Manufacturer & Supplier Hub
Published product families, custom OEM review, RFQ inputs, and project-specific validation planning
- PZT Material Supplier Hub
Material control and grade selection
- Piezoelectric Ceramics
Ceramic manufacturing and custom shapes
Choosing the right ultrasonic transducer starts with knowing what your project needs:
- Operating frequency: Higher frequency can improve certain resolution measures while increasing attenuation in a specified medium; accuracy also depends on calibration, bandwidth, estimation and signal quality.
- Measurement range: Determine how close or far your transducer needs to detect objects.
- Installation environment: Will your device face heat, water, dust, or noise? These affect sensor performance.
- Space limitations: Make sure your transducer fits inside the available area of your device.
Understanding these basics ensures you select the right transducer for optimal performance. For detailed specifications, check our piezoelectric ceramics material guide.
2. Choose the Right Type of Ultrasonic Transducer
Different projects require different kinds of ultrasonic sensors. Here are the most common types:
- Air-coupled transducers: Great for measuring through air without contact.
- Immersion transducers: Designed for underwater or liquid-based measurements.
- Contact transducers: Need direct contact with a solid surface.
- Dual-element transducers: Separate transmit/receive elements can improve particular near-surface inspections; accuracy still depends on calibration, V-path correction, temperature and range.
- Phased array transducers: Used in advanced systems for flexible beam control and higher precision.
Choosing the right type helps you get the most reliable results from your device. Learn more about how ultrasonic transducers work.
3. Mount Your Transducer for Best Results
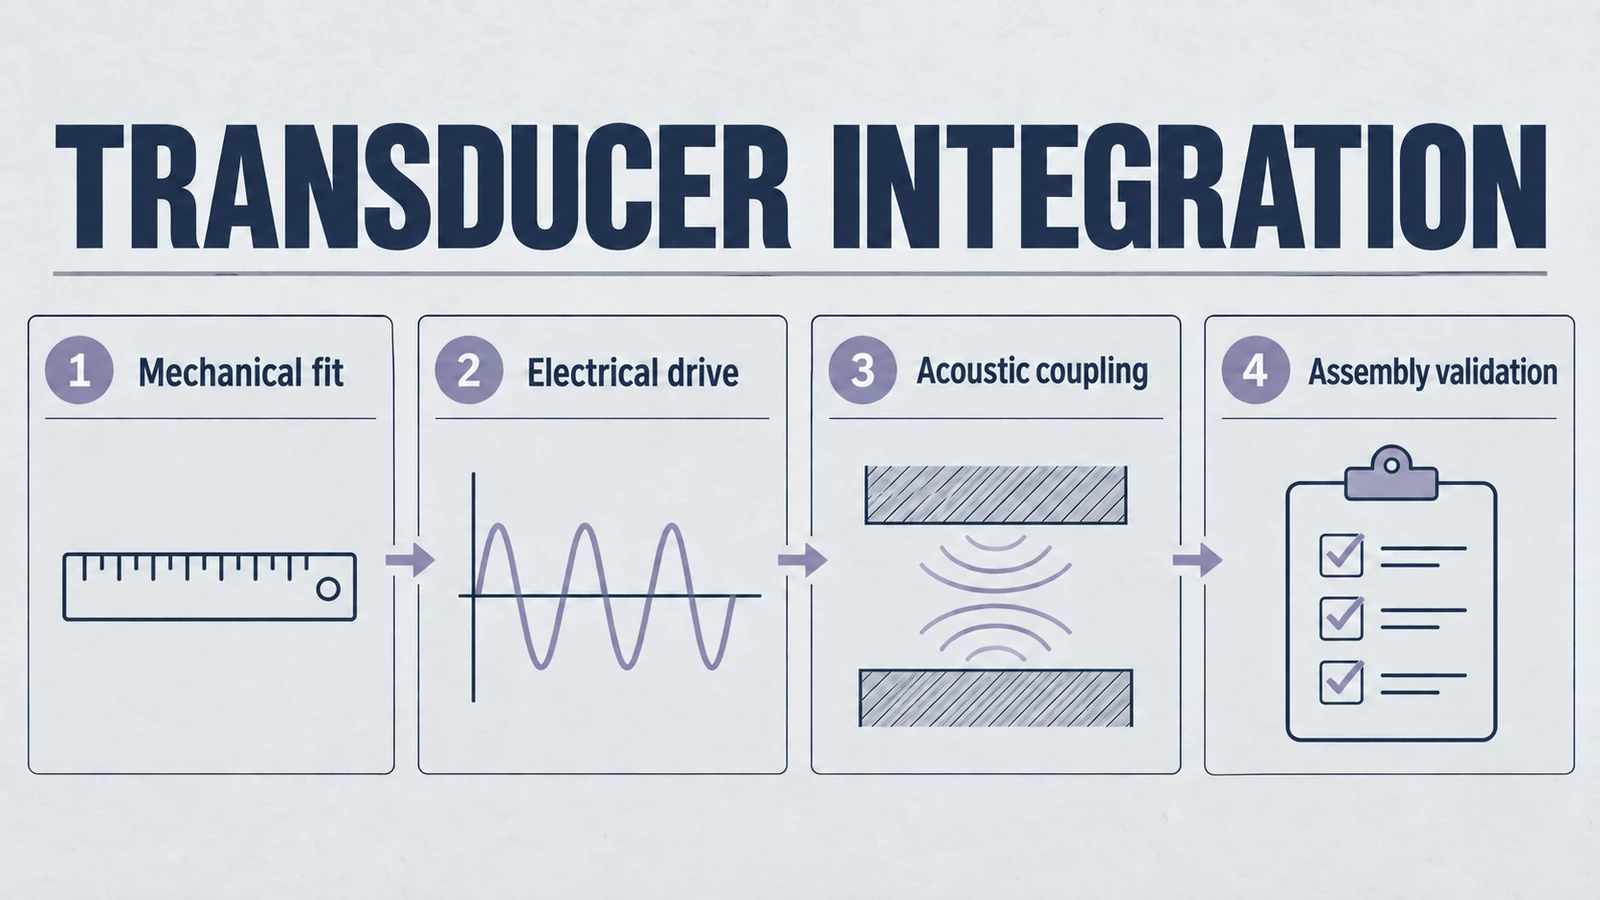
Improper mounting can ruin the accuracy of your ultrasonic sensor. Follow these tips:
- Use stable, vibration-free mounts to avoid false readings.
- Apply proper coupling material (like gel or soft pads) when needed.
- Position at the correct angle so the sound waves hit the target.
- Keep it away from noisy electronics like motors or power converters.
- Test for resonance to avoid unwanted signal feedback.
Good installation improves both precision and durability. For professional mounting solutions, explore our ultrasonic welding transducers.
4. Design the Circuit for Clean Signals
A good electrical setup makes your transducer more efficient and accurate:
- Match electrical impedance to avoid signal loss.
- Use shielded wires to block external electrical noise.
- Choose the right driver and receiver circuits for your transducer's voltage and frequency.
- Generate clean pulses and allow fast signal recovery for better results.
For extra features, consider adding signal monitoring or automatic gain control. Understanding piezoelectric ceramics can help optimize your circuit design.
5. Don't Overlook Heat Management
Ultrasonic transducers can generate heat during long or intense use. Prevent damage by:
- Adding heat sinks or pads for cooling.
- Designing vents or airflow pathways in your device.
- Including temperature sensors or cutoff switches for safety.
Managing heat ensures better performance and extends the lifespan of your component. Learn about industrial applications that require thermal management.
6. Calibrate and Test After Installation
Once your transducer is installed, don't skip testing:
- Check the sensor's accuracy with known targets.
- Measure distance accuracy under different conditions.
- Run environmental tests (e.g., vibration, heat, water) to validate your design.
- Use built-in calibration tools if available in your system.
Testing helps you catch problems early and fine-tune your system. For flow measurement applications, consider our ultrasonic flow transducers.
7. Design with Maintenance in Mind
Make your ultrasonic transducer easy to maintain:
- Use removable modules to allow easy repairs or upgrades.
- Standardize parts and connectors for easy replacement.
- Avoid permanent glue or welding when possible.
- Create simple instructions for future users or builders.
A serviceable design saves time and effort for you and others. For sensor applications, check out our bubble detection sensors.
Conclusion
Ultrasonic transducers are powerful and versatile, but integrating them well takes some thought. From picking the right type to managing heat and running tests, following these design tips will help you build a more effective and reliable device.
Whether you're a student working on a university project or a hobbyist creating a prototype, good design practices make a big difference. For more insights, explore our guide on choosing the right piezoelectric ceramic.
For expert support or custom transducer options for your project, feel free to contact us.
Engineering decision notes
OEM integration and supplier qualification
Use this article when the risk is supplier selection, engineering support, validation evidence, integration reliability, and whether the manufacturer can scale from sample to production. For "Easy-to-Follow Design Tips for Using Ultrasonic Transducers in Your Projects", the practical value is in turning the topic into a measurable selection or sourcing decision.
YJ Piezo combines direct project coordination with ceramic manufacturing support, so procurement and engineering teams can evaluate material control, application review, sample validation, and production consistency together.
Selection checks
- Ask whether the supplier controls ceramic manufacturing or only assembles purchased elements.
- Review sample policy, inspection records, engineering response quality, and production lead-time stability.
- Compare suppliers and integration paths by validation evidence, not only by unit price and datasheet similarity.
Failure risks
- A low-price sample can pass early tests but fail when batch variation, thermal load, or assembly stress appears.
- A supplier without material control may not explain why impedance, capacitance, or resonance drift occurs.
- Weak RFQ information leads to quotes that are fast but not technically comparable.
RFQ details
- What application, operating environment, and failure cost should the supplier design around?
- Which sample tests and outgoing records are required before pilot production?
- What customization, MOQ, tooling, and delivery constraints must be known before quotation?
Relevant YJ Piezo pages
- Ultrasonic Transducer Manufacturer & Supplier Hub
Published product families, custom OEM review, RFQ inputs, and project-specific validation planning
- PZT Material Supplier Hub
Material control and grade selection
- Piezoelectric Ceramics
Ceramic manufacturing and custom shapes
Application FAQ
- How should an OEM compare piezoelectric suppliers?
- Compare material control, engineering support, test evidence, customization ability, sample policy, and batch consistency. Unit price matters, but only after the technical risk is understood.
- What makes an RFQ technically useful?
- A useful RFQ includes application, dimensions, target frequency, electrical limits, duty cycle, operating medium, environment, expected quantity, required reports, and current failure or replacement context.